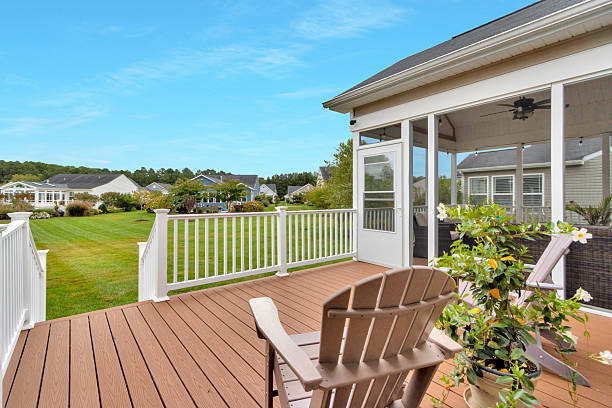
Deck boards get most of the attention, but the joists underneath do essential work. They support the surface you walk on, and on an elevated deck they are exposed to rain passing through the gaps between boards.
You cannot promise that outdoor wood framing will never get wet. The practical goal is to limit unnecessary wetting, move water away, and give the wood a chance to dry. Those steps can reduce conditions that favor decay and help you spot problems before they become serious.
Why moisture matters to deck joists
Wood rot is caused by fungi that need suitable conditions to grow. Moisture is one of those conditions. A joist that gets wet in a storm and dries afterward is in a different situation from one that remains damp because water collects against it or its drying path is restricted. The U.S. Forest Service identifies sustained moisture as a key concern for wood decay. research.fs.usda.gov
Joists can take on water from several places: rain through the decking, runoff near the house, water held between touching pieces of lumber, and drainage that empties onto the framing. Protecting them takes more than applying one product.
1. Start with sound deck construction
For a new deck or major rebuild, use lumber and fasteners appropriate for the location and exposure. Follow the applicable deck design, local requirements, and the material manufacturer’s instructions. The American Wood Council notes that deck design assumes outdoor wet-service conditions; putting a roof or covering over part of a deck does not automatically turn its framing into an indoor, dry-service assembly. American Wood Council
Pay particular attention to cut ends, notches, and the connection between the deck and house. The American Wood Council’s deck guide calls for preservative treatment of field cuts and appropriate flashing at a ledger connection to a wood-framed wall. These are details for the builder to execute correctly during construction or repair. awc.org
If you own an existing deck, have a qualified professional assess questionable framing before covering it with drainage panels or a finished ceiling.
2. Protect the tops of joists where water can collect
The narrow top of a joist sits directly beneath the decking. Water passing through board gaps can land there, including around fastener penetrations and places where two pieces meet.
Joist flashing tape is one way to add a water-resistant barrier to the top of wood framing. Manufacturers generally call for applying it to clean, dry lumber so it adheres as intended. It protects the covered surface; it does not wrap every side of a joist or replace a plan for water drainage. documents.trex.com
Tape is easiest to add before deck boards are installed. On an existing deck, applying it to joist tops typically means removing the boards above them. Ask your builder how it fits with the rest of the drainage design and follow the tape manufacturer’s instructions.
3. Divert rainwater away from the deck structure
An under-deck drainage system creates a route for water that passes through the decking. Systems placed above the joists collect water before it flows through much of the framing. Systems placed below the joists collect it beneath the framing and direct it away from the area underneath. trex.com
Each approach calls for a complete water path. Ask where water enters the system, how it travels toward a gutter or outlet, and where it discharges. A poorly placed outlet can move water off the deck only to deposit it beside the house or back into the patio area.
For an existing deck, an undermount system may allow the deck boards to remain in place. An above-joist system generally requires access beneath those boards. The best choice depends on the condition of your deck and the project you are planning.
4. Consider how wet wood will dry
Water diversion and drying work together. This is especially relevant for a below-joist system: rain may touch the joists before reaching the panels beneath them. Ask how that particular system accounts for moisture around the framing, including the ventilation or other drying provisions specified in its design.
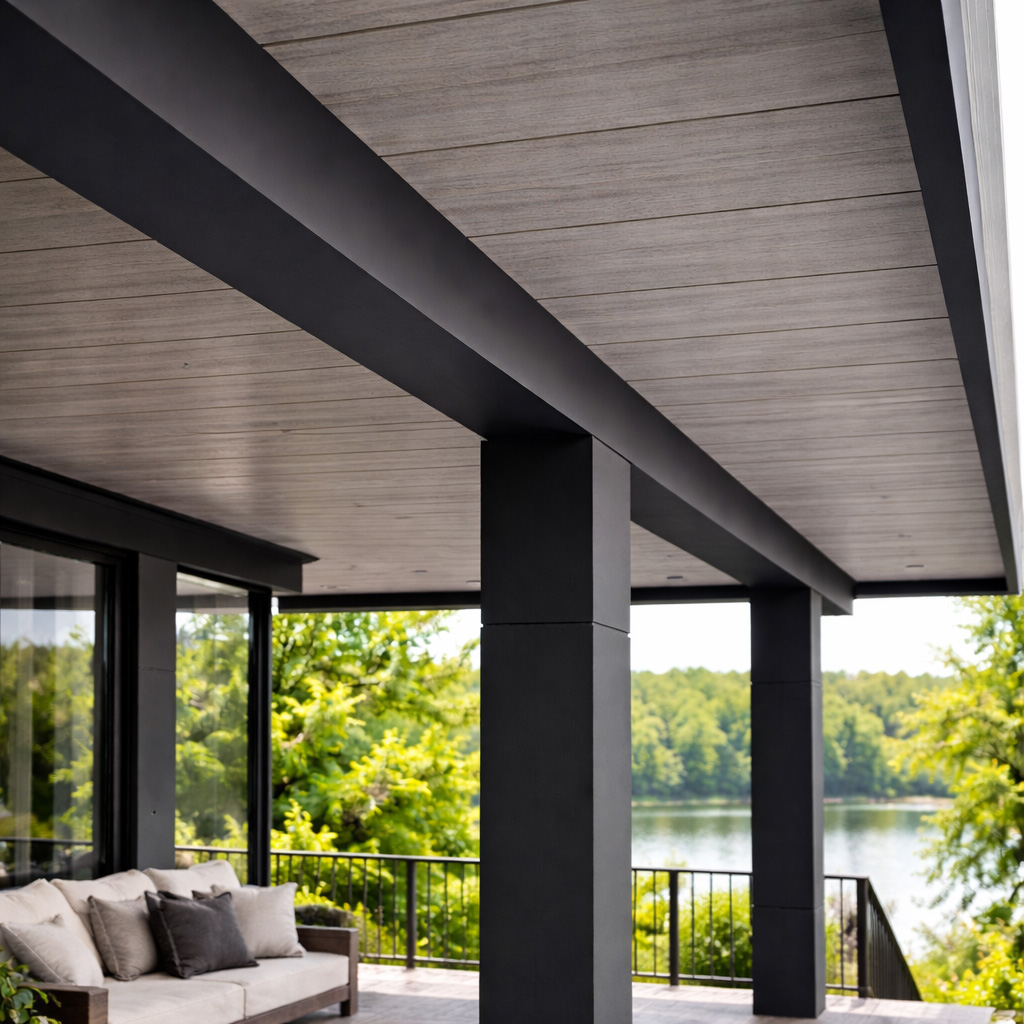
RainTeck is designed to combine undermount water drainage with joist ventilation and a finished ceiling. That approach addresses the needs of both the space below and the framing above it. The details of its ventilation path and any claimed drying performance should follow RainTeck’s approved technical guidance.
Avoid improvising by sealing every gap around a deck ceiling. Installation details can be important to both drainage and air movement, and different products have different requirements.
5. Keep gutters and outlets working
Even a correctly installed system needs an open route for water to leave. Check gutters and outlets for accumulated leaves or debris, especially after storms and seasonal leaf fall. If you see water overflowing a panel, dripping from an unexpected spot, or pooling against a beam, find the cause.
Look beyond the deck system as well. A nearby roof downspout or poorly graded ground can keep the area beneath the deck damp even when overhead drainage is working properly.
6. Inspect the framing you can see
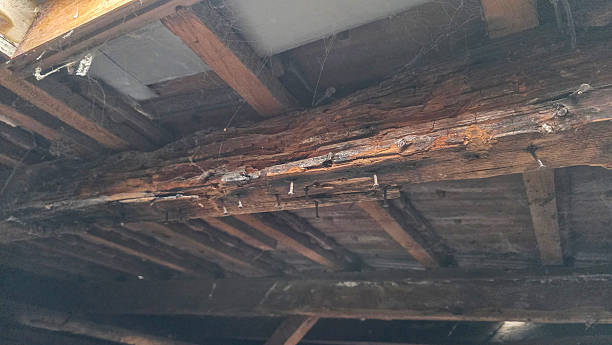
Make deck inspection a regular habit, particularly before finishing the underside of an older deck. Look for persistent wet areas, soft or crumbling wood, visible deterioration at connections, unusual sagging, or a pattern of water that does not match the intended drainage route.
A dark stain alone does not tell you whether a joist is structurally sound, and a dry-looking surface does not rule out hidden damage. If you suspect rot or connection problems, have a qualified deck professional evaluate them before adding weight, closing in the framing, or continuing to use a deck that may be unsafe.
Can pressure-treated joists still rot?
Yes. Preservative treatment is an important protection for wood used outdoors, but it is not a reason to ignore water management, exposed field cuts, installation details, or maintenance. The American Wood Council’s deck guidance includes both treated-lumber requirements and separate measures such as flashing and field treatment of cuts. American Wood Council
Think in layers: appropriate materials, sound construction, protection at vulnerable surfaces, a clear drainage route, and opportunities for the framing to dry.
The takeaway
To help prevent deck joist rot, address the whole moisture cycle. Reduce water reaching vulnerable wood where practical, move collected rain away from the deck and house, and consider how framing dries after a storm. Then inspect the structure and maintain the drainage path over time.
No tape or drainage system can guarantee that a deck will never develop rot. A well-planned combination of construction details, water management, and inspection gives your joists a better chance to remain sound.
Sources
USDA Forest Products Laboratory. Durability of Wood in Construction.
USDA Forest Products Laboratory. Drying and Moisture Control (2010).
American Wood Council. Deck Construction Guide (DCA 6).
American Wood Council. Deck Wet-Service Conditions.
American Wood Council. Covered Deck Wet-Service Conditions.