An under-deck drainage system can make the space beneath an elevated deck more useful by collecting rain that passes through the deck boards and directing it away. But systems differ in how they are installed, what happens to water around the framing, and what the finished space looks like.
The best choice begins with your deck and your plans for the area below. Use this guide to compare the complete installation, not just the panels or troughs in a product photo.
1. Decide what you want from the space below
Start with the result you want. Are you trying to stop rain from dripping onto an existing patio? Create an outdoor seating area? Add a finished ceiling? Make storage more practical?
Write down the features that matter to you before comparing products. A system that collects water may solve the overhead dripping problem, but it does not automatically include the ceiling finish, lighting, patio surface, or ground drainage needed for your full project.
Remember that the space remains outdoors. Wind-driven rain can enter through open sides, and water can still move across the ground. If your patio already has puddles after a storm, identify where they come from before assuming overhead drainage will solve everything.
2. Check whether the deck is new or existing
This can narrow the options quickly.
Above-joist systems are installed over the framing and beneath the deck boards. They can be planned while a new deck is being built or while an existing one is being redecked. For example, Trex RainEscape says existing boards must be removed before its system can be installed. FAQs
Below-joist systems are installed beneath the framing. Some are intended for retrofit work and may allow existing deck boards to remain in place. TimberTech says its DrySpace system attaches to new or existing joists and can be retrofitted to many decks. That does not guarantee compatibility with every framing layout.
If you are already replacing worn decking, compare both approaches. If you want to keep sound deck boards in place, ask installers which systems can be fitted from below.
3. Have the existing deck inspected
Do this before choosing a ceiling finish or committing to an installation date. A drainage system should not conceal deteriorated joists or connections that need repair.
Ask a qualified deck professional to assess the framing, deck height, joist spacing, beams, posts, and connection to the house. Note any soft wood, unusual movement, persistent wet areas, or visible deterioration. Repairs may change the project scope, but they should be addressed before finishing the underside.
Product dimensions matter here, too. TimberTech’s DrySpace installation guide, for example, specifies the joist-spacing configurations for which its system is designed. Use the chosen manufacturer’s current instructions to confirm fit rather than assuming that all under mount panels attach in the same way.
4. Follow the water from deck board to outlet
Ask each installer to explain the water path in plain language:
- Where does rain enter the drainage system?
- What gives the troughs or panels their slope?
- Where does the water collect at the deck’s edge?
- How does it leave the property-facing area beneath the deck?
The answer should include gutters, downspouts, and any other outlet components the project needs. A system that moves water off the patio ceiling but empties it beside the house has not finished the job. EPA moisture-control guidance emphasizes directing water away from foundations with appropriate grading and downspout discharge. epa.gov
Posts, beams, stairs, and unusual deck shapes can complicate that route. Have the installer explain how those details will be handled in your layout.
5. Ask what happens around the joists
This question matters regardless of which type you prefer.
With an above-joist system, the drainage layer collects water before it passes through much of the joist area. With a below-joist system, water may reach the framing before landing on the panels. Ask how the product’s design manages that exposure and how wet wood is intended to dry.
Moisture management matters because wood decay depends on conditions that include sustained moisture. Research from the U.S. Forest Service also highlights that larger above-ground wood connections can retain moisture differently from small pieces that dry frequently. research.fs.usda.gov
RainTeck is an undermount option designed to combine water diversion with joist ventilation. If you are evaluating it, ask the installer to show the approved details for both functions on your deck. Avoid accepting either a blanket “all below-joist systems cause rot” claim or a blanket promise that a product makes rot impossible.
6. Look at the finished ceiling
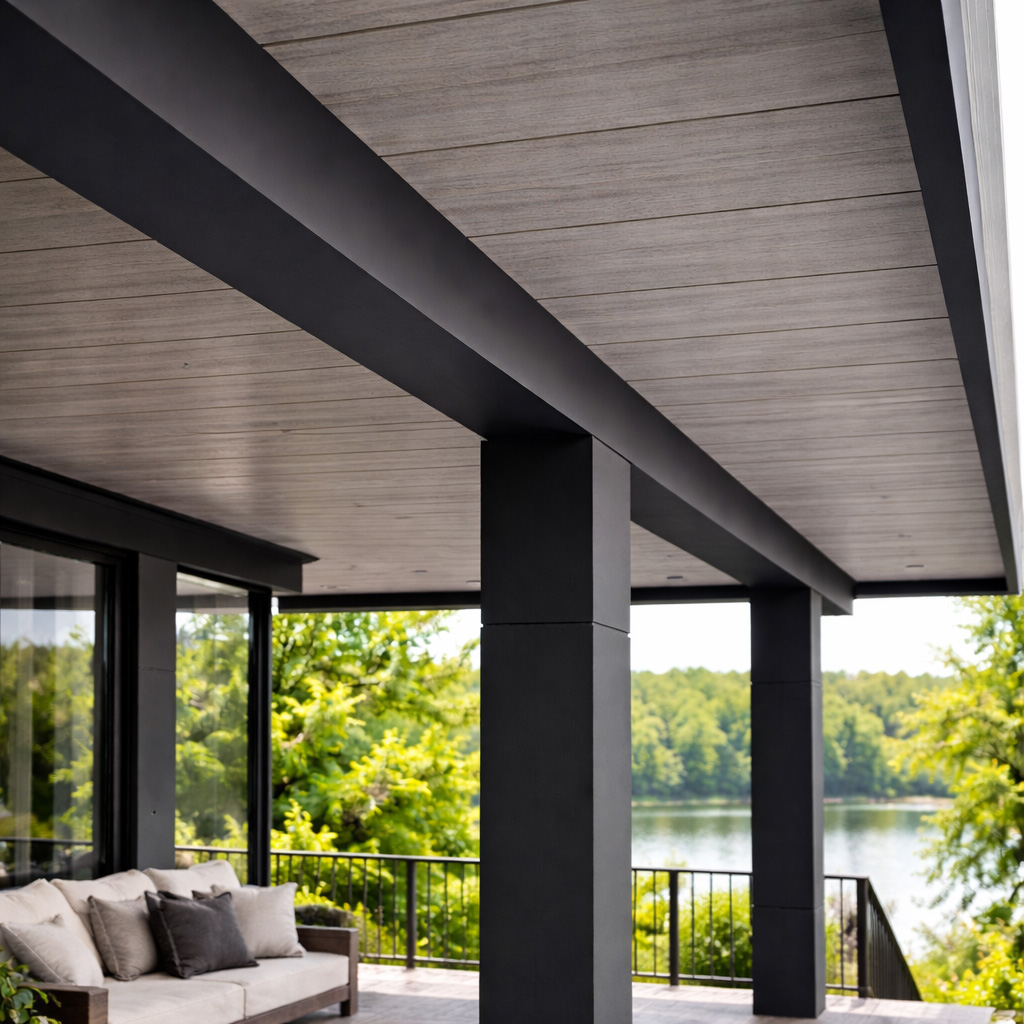
What you see from below may be the drainage panels themselves, or a separate ceiling installed beneath concealed drainage components. That difference affects the appearance, the scope of work, and the total quote.
Ask to see an installed example or an accurate product sample. Check:
- Available colors and finishes
- How seams and edges will look
- Whether the ceiling is included in the quoted system
- How the ceiling will meet beams, posts, and the house
- Whether lighting or other features require separate support and electrical planning
RainTeck’s woodgrain-streaked vinyl panels are intended to provide a finished ceiling as part of its drainage system. Confirm the selected finish and installation details in the proposal.
7. Plan for inspection and maintenance
All drainage systems need a clear path for water to leave. Ask how you will inspect the outlet, identify a blockage, and access parts that may need cleaning. A finished ceiling should not make a leak or framing concern impossible to investigate.
Check the manufacturer’s maintenance instructions and written warranty. Look at what the warranty covers, who provides it, whether installation by a particular type of contractor is required, and what maintenance the owner must perform. Do not rely on a warranty length alone to compare systems.
8. Compare complete, itemized quotes
A useful quote should show the same project scope across installers. Request separate descriptions for:
| Quote item | What to confirm |
| Drainage materials | Product, components, and area covered |
| Deck preparation | Inspection, repairs, and any deck-board removal |
| Installation | Labor and product-specific details |
| Water discharge | Gutters, downspouts, and final outlet |
| Ceiling | Whether a finished surface is included |
| Other upgrades | Lighting, electrical work, flooring, or trim |
| Exclusions | Work that would cost extra |
There is no reliable universal price that covers every deck and every finish. An itemized proposal tells you whether a lower quote represents a better value or simply leaves out part of the project.
Which system is best for you?
A good choice fits four things at once: your existing deck, your desired space, a sound water path, and a plan for the framing. If you are building or redecking, above-joist and below-joist options may both be available. If you want to preserve the current deck surface, a compatible undermount system may be particularly relevant.
Have an installer assess the deck, explain how the selected system handles water and drying, and show what the space will look like when the quoted work is complete. That is a stronger basis for choosing an under-deck drainage system than a “best product” label alone.
Sources
Trex RainEscape. Frequently Asked Questions.
TimberTech. DrySpace Installation Guide.
U.S. EPA. Moisture Control Guidance.
U.S. EPA. Moisture During Remodeling.
USDA Forest Products Laboratory. Above-Ground Wood Decay.
USDA Forest Products Laboratory. Moisture in Above-Ground Wood.